My First Workbench
Josh Wang • •I came across my first bench through a great series of twists and turns. Even though I first started using it half a year ago, I have a newfound appreciation every day for what it is and what it can do. It has been with me since day one of my at-home woodworking journey (and in many ways before that). With me it has grown and evolved with each project, with each iteration. Where do I begin?
The internet, of course.
Just before I was caught in the (inter)webs of woodworking, I was learning how to make a cutting board from my friend at the local college. We made decent progress despite more than a few hiccups on my part. The only problem was that we were running up against the end of the year, which meant that the shop was shutting down until the next semester he had access to the shop. In anticipation, I wanted to have a simple workbench on my apartment balcony. But all the benches I had seen up to this point were these massive new Sjöbergs workbenches at the college. I wasn't ready to commit to buying a quick release (QR) vise. Or $2000+ for that matter.
Fortunately I had previously stumbled upon The Renaissance Woodworker. He described the decisions behind his workbench features, like dog hole placement. The whole idea had a great impression on me at the time. With the combination of a planing stop and a bench hook or two, I could accomplish the major tasks of planing and cross-cut sawing. That would leave only the need for a workholding option to work the edges of a piece, but I was already concocting a plan for that. Needless to say, I was sold.
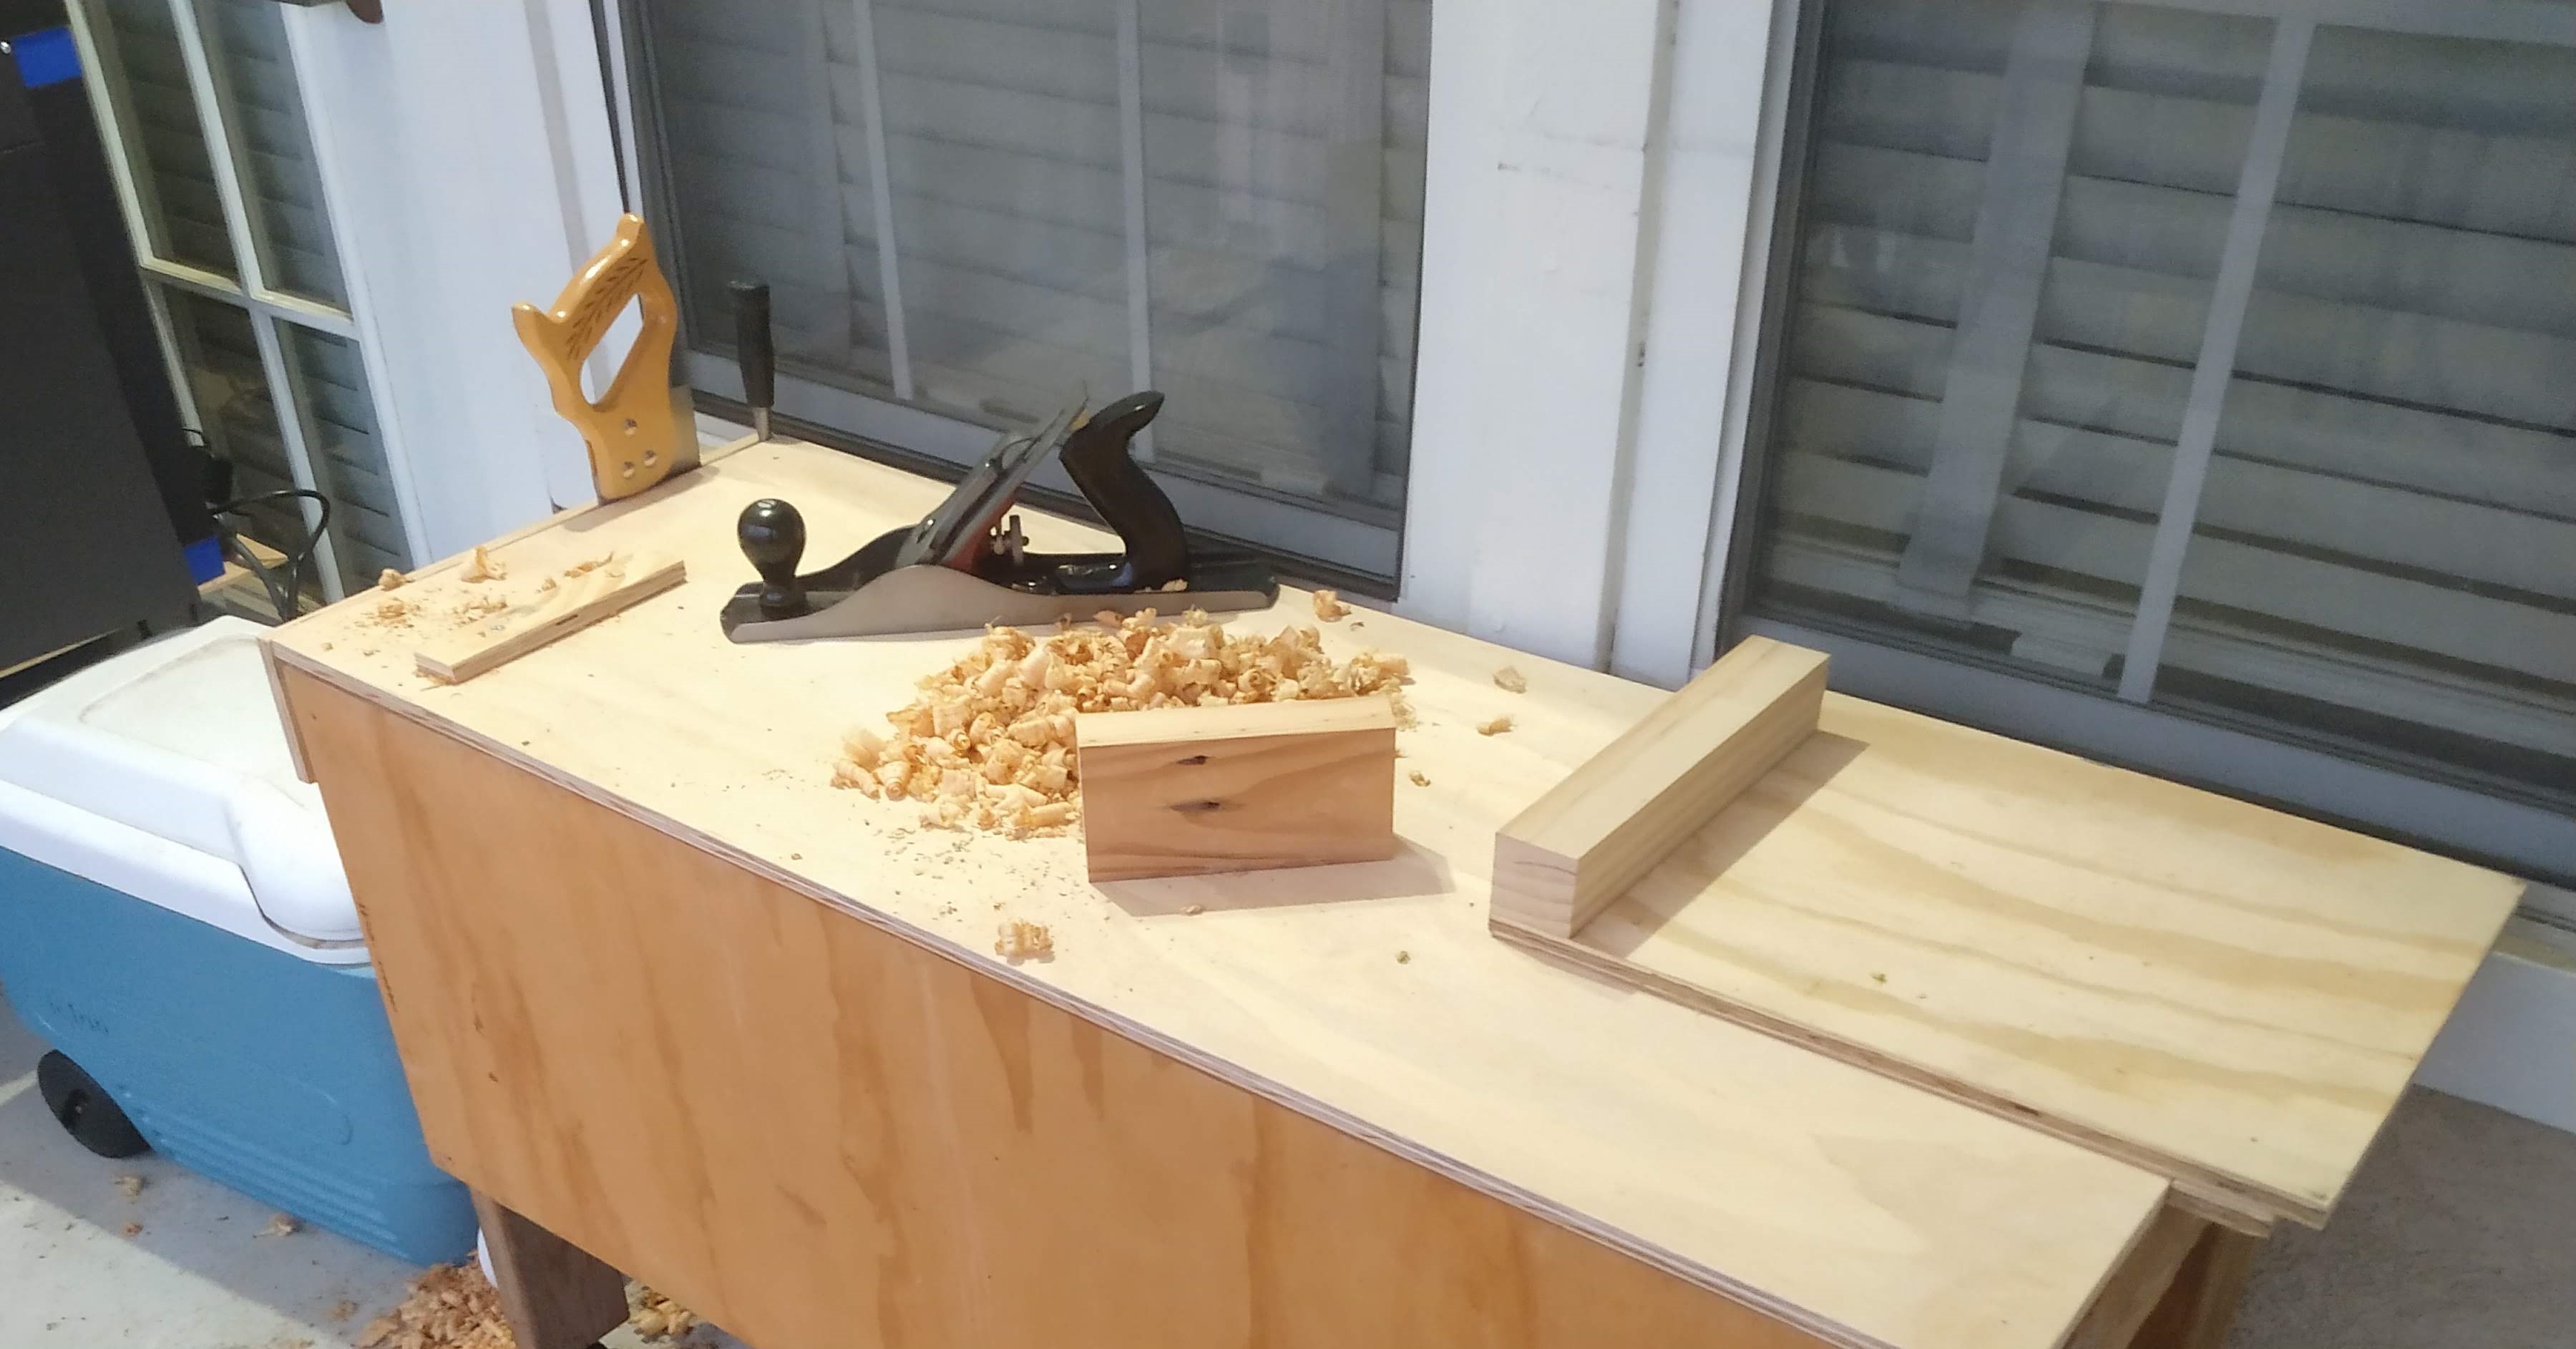
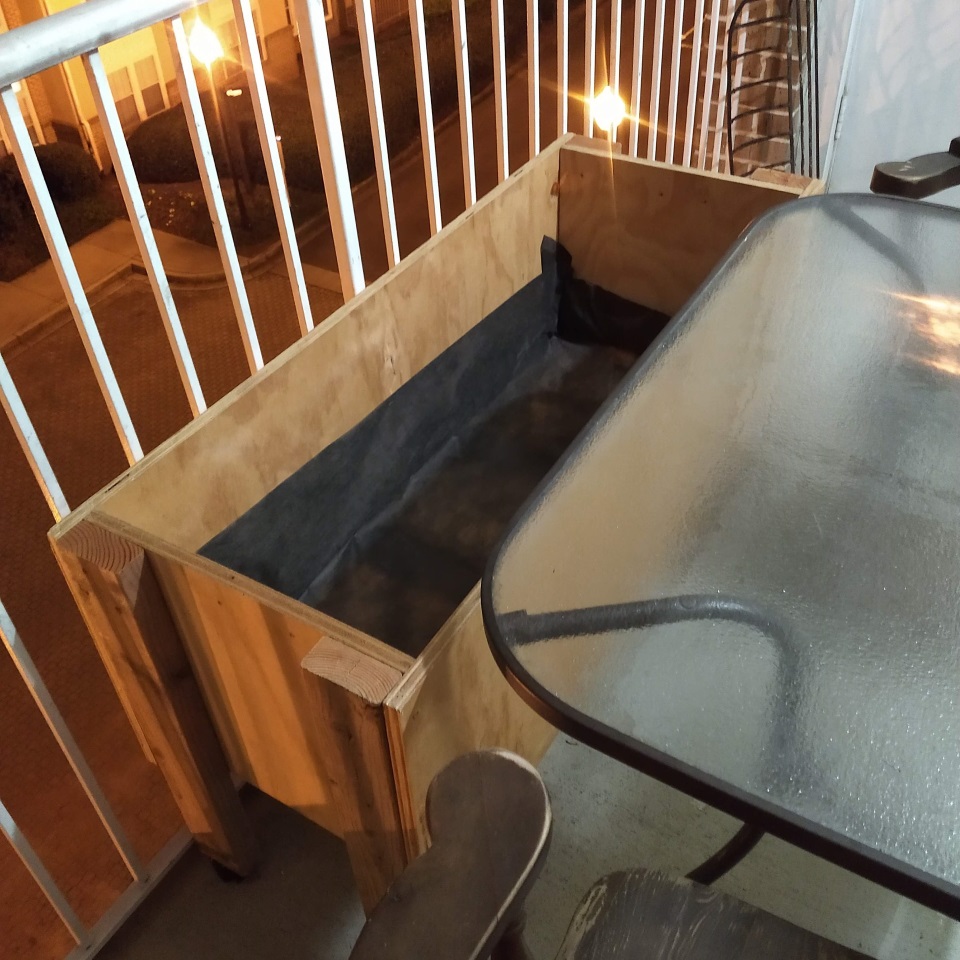
 With winter fast approaching, my large balcony planter wasn't going to see much action for awhile. It was already pretty close to the right height for a planing bench and it was already mobilized with caster wheels. So I ran to the hardware store, grabbed a 2' x 4' sheet of plywood and cut it to size at the shop. I then used a dowel center set to match-drill holes in both the benchtop and the planter base so that I could take off the benchtop whenever I wanted. Since my planter base was really just a plywood box made of large aprons, that meant that taking off the benchtop allowed me to clamp pieces directly to the front apron. And with only 1/2" thickness I was able to really make the most out of my F-clamp's jaw depth. With this design I pulled the planter off the proverbial bench and turned it into an actual work bench.
Now if you're at all familiar with the seasonal movements of wood or the relatively low density of pine wood, then you have probably already anticipated the short-comings of this bench. Yes when Spring came, she bowed the plywood bench top after months of outdoor exposure; the bench topside had dried out faster than the underside. And yes the casters were a double-edged sword. On the plus side, they allowed for the re-arrangement of my balcony furniture so as to give myself more lighting or space. The latch brakes on one side of the bench worked well most of the time, but not nearly well enough to withstand the forces of medium to heavy planing. Or even most sawing jobs for that matter. There is a reason that most workbenchs utilize such heavy laminated tops...and maybe some of those handy drop-down casters.
 So I don't even use the bench top anymore. In fact, it's more like a lid these days. You see, a while back I added cross-members to the planter in order to better support the bench top. I set them at a distance apart from the sides so that it could also support my bench hooks. Doing so allows me to plane 90% of my small works without needing the bowed bench top and planing stop. Plus! Using a second bench hook with the far cross-member then allows me to plane longer boards. As for the movement issue, I placed my bags of leftover potting soil and sand in the body of the planter to increase the weight and the inertia of the bench.
With just this setup I've been able to cut dovetails and chop mortises for a number of projects ranging from a dovetail box, to a stool, to even still the large drying rack that I am now working on. The bench ain't pretty, but it was exactly what I needed to just get started and begin woodworking!
 ANGO
ANGO