Calligraphy Drying Rack (P2)
Josh Wang • •Awhile back I first started making a calligraphy drying rack. Six months in fact of on-and-off work on this ambitious project of mine. In the face of such a massive task, you can't help but think of the proverbial elephant right?
Journey
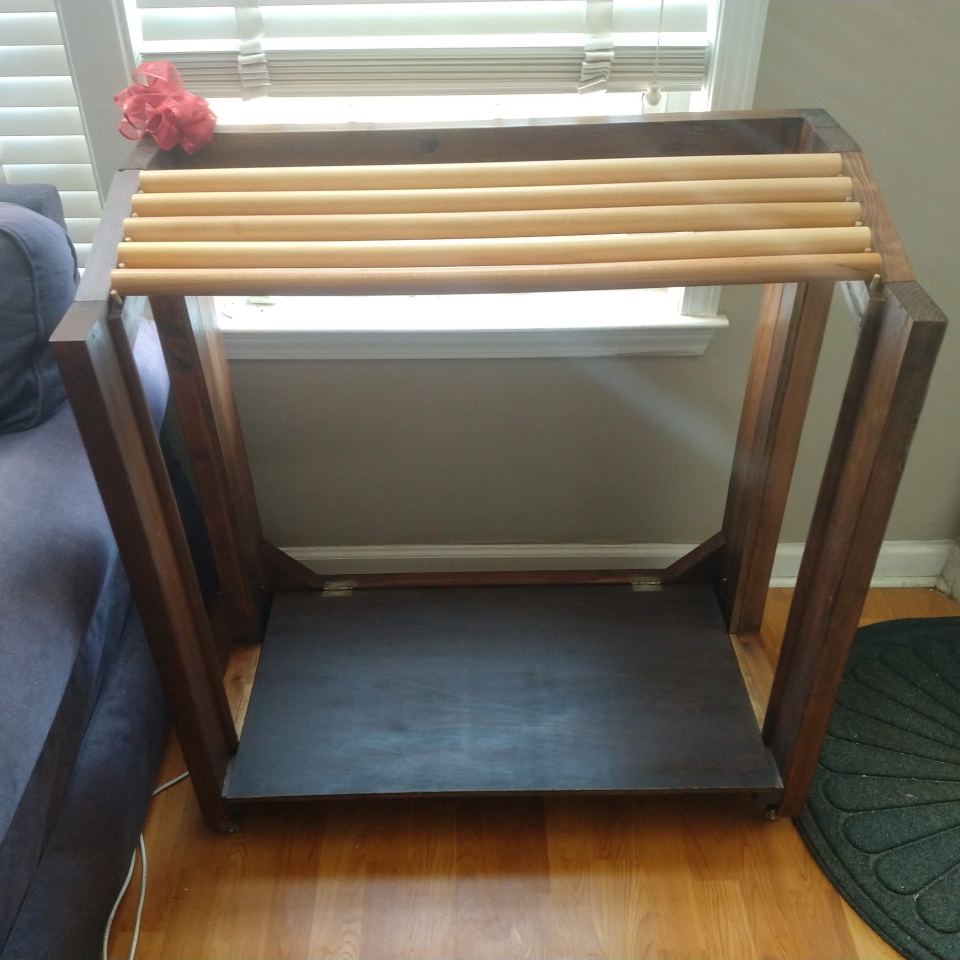
In order for me to take the first bite, I broke everything into smaller sub-projects: three mortise and tenon frames, two of which were symmetrical. Then I could add final details like the rod rack and the fall down shelf. The final inner width for the rod rack was important, so I would start with making the outer wings, then making the width of the back frame match the final desired width.
For materials, I began with SPF 2x4's which offered lower weight and price but a stickier situation. By that I literally mean that there was much unwanted sap that I had to scoop out and then fill in with wood filler. That also meant that I had to choose where to make my first cross cuts when shortening the boards to the proper length. After all I did not want the sap gaps to affect any of the mortise and tenon joinery (also I get chills imagining that sticky mess on my chisels).
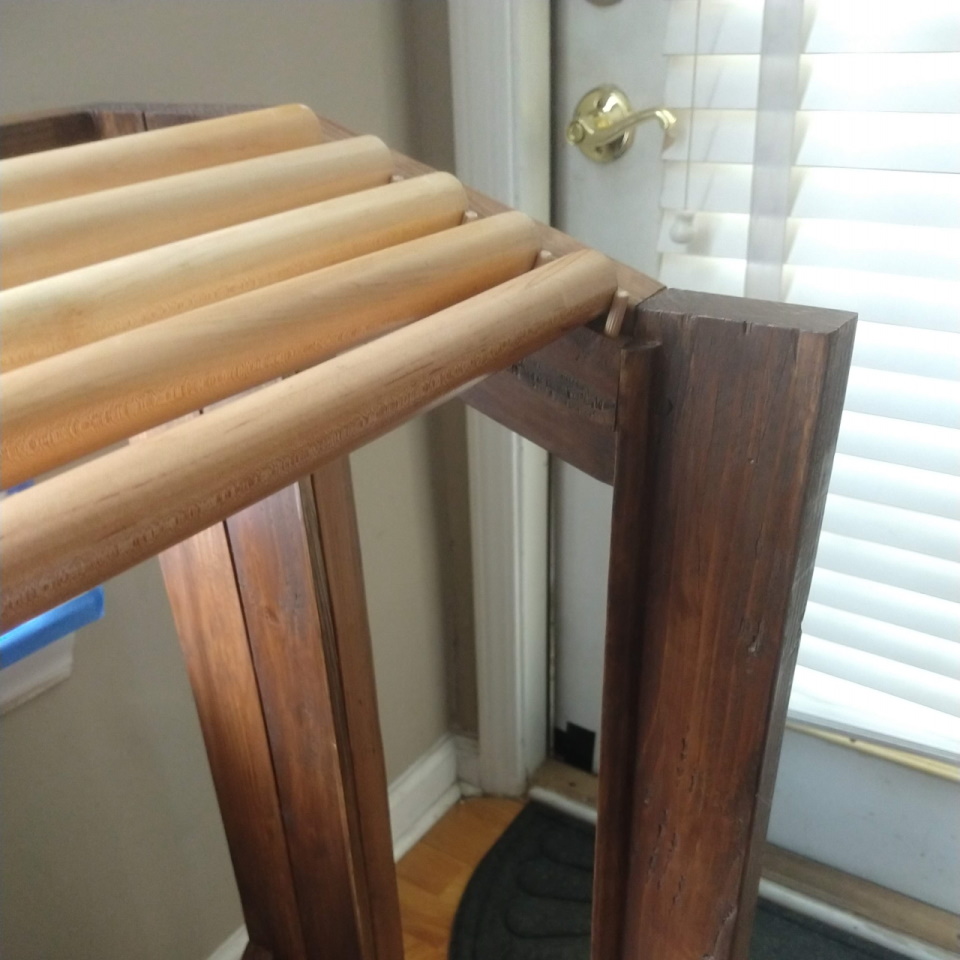
For the left and right wings I used stopped mortises. The top rails were designed at an angle so I angled the tenons themselves to match the differing heights in the mortises of the front and back legs. Though it was tough to get the rails all the way down to their shoulder in the mortise, I pulled through it (or should I say pulled it through) using drawbores on the stopped mortises! By drilling the holes slightly offset in the tenon, I could squeeze the joint extra tight while letting the pin absorb the tension. And at this point I learned that I should have made the grooves for the rod rack on the top rails before assebling the frames. Oops. I was able to scoop out most of the middle of the grooves, but had to roughly finish the rest by hand using a chisel.


After all that I was able to join the frames together with hinges, cut the rods for the rack to length, and install the drop down shelf. I then wrapped up by filling in all cracks with wood filler, sanding down to 220 grit sandpaper, and finishing with a walnut colored varnish.
Lessons Learned
Truly this project took a lot of time and energy from me, but also taught me many many lessons.
- Skills on smaller projects can transfer (mortises and tenons on a stool -> mortises and tenons on frames)
- Write down the order of operations, especially before assembling and gluing up
- SPF is cheap and lightweight but can actually make the project more difficult
It is hard for penetrating finishes to be applied evenly on plywood (at least the varnish I chose) - rather choose paint
 ANGO
ANGO